Saturday, July 21, 2012

Dark Knight Rises Review

Ok so first off I want you guys to know this is going to be a spoiler free discussion on the movie. I believe that all of the things that could be spoiled must be seen on the screen as they are presented in a manner that is very, very good. 


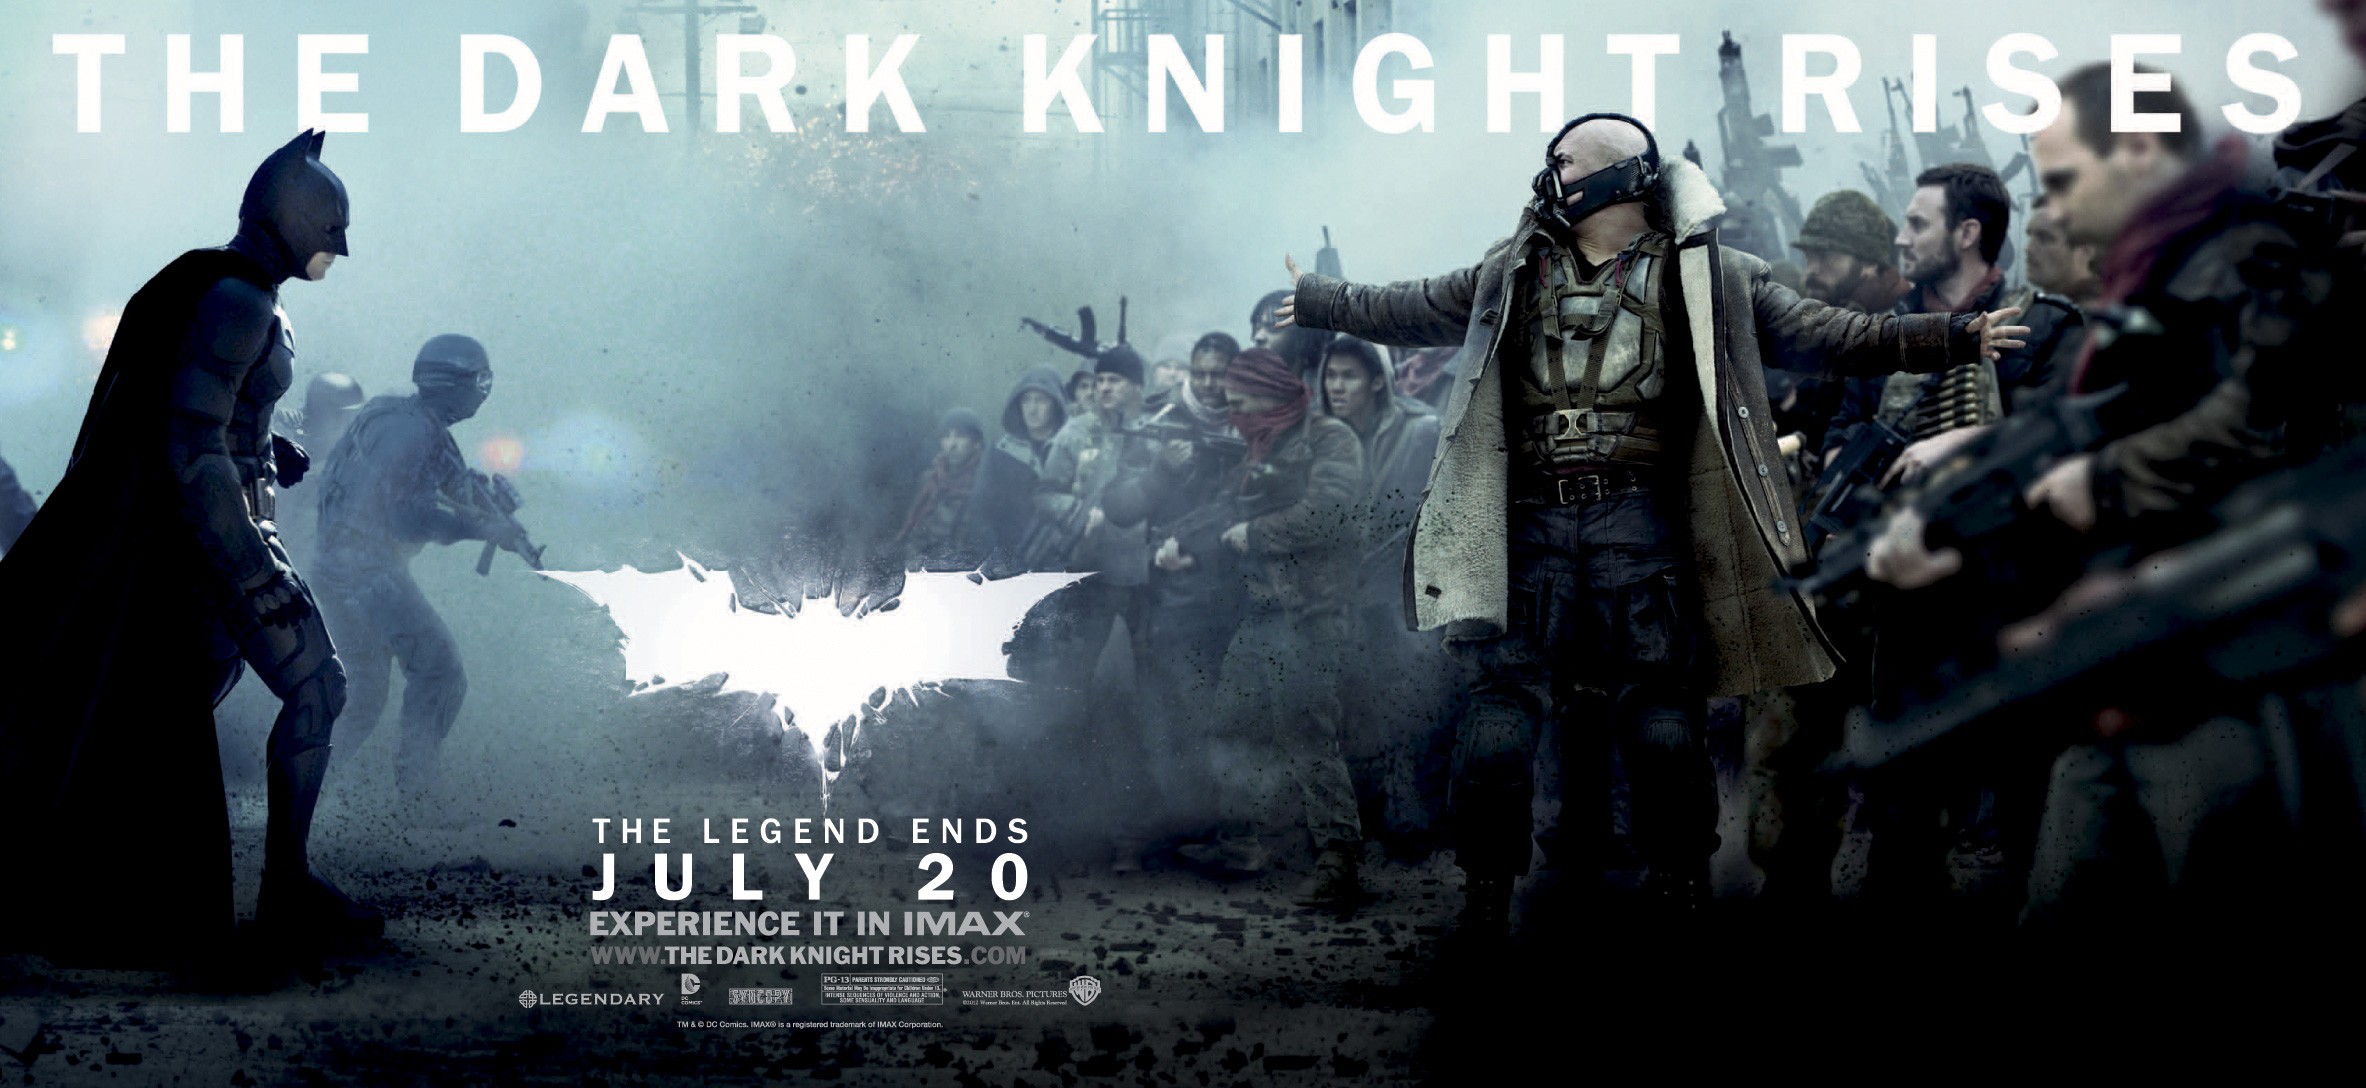
I do want to start off with a little background information. For those of you who don't know, this is the third and final film in the Christopher Nolan/Christian Bale Batman trilogy. Batman Begins kicked off the reboot taking Batman in a much needed more serious direction. It showed how Batman got started and introduced us to two great Batman villains, Scarecrow and Ra's al Ghul. It was met with both critical and financial success. It was followed up 3 years later by Dark Knight. Dark Knight introduced us to Joker (portrayed by Heath Leadger in what is arguably his best role ever). Dark Knight was also significant because it was the highest grossing comic book movie of all time... until The Avengers broke that record this summer. And now 4 years later Dark Knight Rises is out showing us Bane and Catwoman. 


Now this is a fairly long movie so you guys should be prepared to sit for a while clocking in at 2 hours 45 minutes. I also want to let you know there may be a trailer of next summer's Man of Steel which I am personally looking forward to. I say the trailer may be there because depending on the theater it may or may not be there. The movie doesn't feel like a 3 hour movie though. The editing and writing push the action along at a very fast pace. I did see the movie in IMAX and it looked incredible. I would recommend to see it that way if you can afford it. I am a huge Batman nerd and this movie really rewards it like few other movies I have seen before it

I would like to make some recommendations of how to prepare yourself for this movie as well. First I would recommend you go and watch Batman Begins before you see this movie. A lot of the key plot elements tie back to that movie much more so then to Dark Knight. One of the things I like most about these movies is that they don't retell a specific Batman story but take a lot of elements from various Batman stories over the years. There are some Batman books that I would recommend you read because this movie takes a lot of elements from them. The first is Batman: Long Halloween. The second is Batman Knightfall. I do recommend reading both volumes of Knightfall. Knightfall is also pretty significant as it is basically the most definitive Bane story.


No go out and watch it. Watch it now!
That is all. Carry On!

-Spieg89

Friday, July 13, 2012

RTX 2012!

I know I said I would post this on Monday but I didn't get a chance. But its better late then never right?

Don't remember what RTX is? Go back and check out my last post: http://wiredgamers.blogspot.com/2012/07/what-is-rtx.html 

I worked as a volunteer helping to run a special booth on the show floor called the Immersion Museum. This booth consisted of items from a video series Rooster Teeth did called Immersion where in the two test subjects were thrown into situations similar to what someone would experience in serious different video game situations.


So there is a little sampling of Immersion. In fact those glasses were one of the displays at the booth. And I was responsible for them. We had the camera set up and would take two people and have them try and play catch a plush Grifball. It was very amusing to say the least.


This is a picture of what the booth looked like. 


The line for registration.


Yeah that is the Halo 4 booth. Unfortunately I didn't get to play it but I saw some demos and it looks great! 


And that is the reason I didn't get to play Halo 4. The crowds you see in the back and to the left is the Halo 4 line.


 From my booth I could see the e-sports arena. This is a game of Halo 4 that was being played.


Do a Barrel roll! (In a warthog haha)


And yes. Those are the "official" Rooster Teeth Red vs Blue guys playing DDR just behind my booth.

Ultimately I didn't get to do and see as much as I wanted, but I had a lot of fun. I love the Rooster Teeth community and I look forward to maybe going next year. I really had a good time working with the Rooster Teeth staff and they sure know how to put on a great event!

Also on Saturday night there was a concert and mixer. I did take some video of the show but it turned out really bad so I don't really want to put it out there.

The only bad part about it was that I had to leave on Sunday night instead of Monday like I wanted. But other then that it was great. If you guys get a chance to go next year I recommended going! 

That is all. Carry On!

-Spieg89
Me in the Immersion Booth wearing some of the props.

Wednesday, July 4, 2012

What is RTX?

Happy 4th of July to all of our readers in the US! So if you want to take a break from blowing up fireworks and eating BBQ I am going to tell you guys about the little convention I am going to down in Austin, TX called the Rooster Teeth Expo or RTX.

You guys may or may not have heard of a production company down in Austin called Rooster Teeth. They are best known for their popular we series Red vs Blue which recently started its 10th Season. For those of you who have never seen the show here is a taste:


RTX 2012 is Rooster Teeth's second fan expo they have hosted in their hometown.  Last year it was a very small and limited event but this year Rooster Teeth is expanding exponentially. They sold out last week to 4,000 registered participants. I will be on staff in a sense as I will be working as a volunteer at the event. 

Alright so here is the fan input section. What do you guys want me to see? This will be the first open to the public demo of Halo 4 and I will try to see it but I can't make any promises? Tell me in the comments what you want to see! Here is a list of the exhibitors at RTX: RTX Exhibitors.

Look for an article when I get back!

Carry On!

-Spieg89

Monday, June 4, 2012

Disc07's NES PC Build: Part 1.6b (Case Mods)

I will agree with many of the critics out there, this post will most likely be better presented as a Tumblr-esque blog, but is this stopping me? Nope! Here is a bit of an update of my build. I am still a few parts down from completing the watercooled NES computer, but here are some stills to wet your whistle during this epic E3 week.

The Watercooler and SSD nestled nicely at the base of the case. 
A rather crude hole cut on the base of the NES to accommodate the 120mm fan. 
USB hub to replace the second controller port.

Friday, May 25, 2012

Disc07's NES PC Build: Part 1.5b (Watercooling!?)

Okay, this may be a little bit of an overkill in a system so small, but I want this system to be different than all of the others out there, even if it mean squeezing a radiator and cooling block into the classic Nintendo console. As of yet, I have not seen any NES HTPC Build with a liquid cooling system, so here is where my system will stand out in the crowd!

I have been toying with the idea of integrating water cooling into another system of mine, but now that I have a brand new toy to play with, I figured that I may as well squeeze it in to this NES, what is turning out to be a beast of a system. After shopping around, I decided on choosing the Antec Kuhler H2O 620 mainly because of its low profile size when compared to the competitors. It comes paired with a 120mm x 25mm intake fan, but I went ahead and ordered a slim 120mm x 12mm Scyth fan to save the extra 13mm of height within the box.
Big box, tiny package. 
Like I mentioned before, I had never heard of anybody putting a cooler in their NES PC, mainly because of room issues. I took the challenge and immediately found some flaws in my reasoning. 1) The tubing is 13 inches long. Despite being kink free with the setup I have, I would like to modify the tubes to make them about 5 inches, relieving a lot of space in the NES. 2) There is also a lot of tension created when placing the cooling block upside-down like below; hopefully after the tubing is shortened this tension will be relieved.

TOO MANY TUBES! 
I did find a spectacular tutorial online on dismantling the 620 which will be helping me immensely when it comes to cutting these tubes. If you want to check it out, it's over on the Tomorrow's Gaming forums here. As per the rest of the build, as always, I will continue after the weekend on Monday; and I hope that you continue to follow the build then. Monday's will showcase some more of the case, and various mods that have been going on on that front. So far here is how it is coming pricewise:


  • Intel i5 3550 ($189.99)
  • Corsair Vengeance LP 8GB (2x4GB) Memory Module ($42.49)
  • The NES Case, Hardware, and Paint (<$10)
  • Patriot Pyro 2.5" 120GB Solid State Drive ($99.99)
  • Antec Kuhler H2O 620 Liquid Cooler ($61.99)
  • Scyth 120mm x 12mm Case Fan ($10.39)

  • Total Savings: $100.10 

  • Total Price: $414.85
  • Wednesday, May 23, 2012

    Disc07's NES PC Build: Part 1.4b (The SSD)

    The next component of this build matches my lifestyle quite well: The Patriot Pyro SATA III 120GB Solid State Drive. Once again, my dealer of choice was Newegg, mainly, this time because of the cost of the drive. Lately when looking at drives, or if you are in the neighborhood for buying one at this time, the dollar per gig pricepoint is what you are looking for. I purchased this solid state for the excellent price of $100, over half off of the original price of $160. If you are interested, you can take a better look at the drive here on Newegg.

    FIRRRRRRRRE! 
    The read/write speed is 550MB/515MB/s respectfully, so this is a speedy little devil. Another plus of this drive it its VERY small form-factor: only 2.5". Looking at the package, it actually looks quite large, but if you take the drive out and it is surprisingly small. I really wasn't expecting such large storage attributed to such a small package.

    For the Canadian readers out there. Here is a little comparison to your  'Toonie.'
    There isn't really much more to say about this drive in this state, once it is hooked up, boot times, ect will be accounted for and be in the final review of the system. So far, here is how the build is adding up:


  • Intel i5 3550 ($189.99)
  • Corsair Vengeance LP 8GB (2x4GB) Memory Module ($42.49)
  • The NES Case, Hardware, and Paint (<$10)
  • Patriot Pyro 2.5" 120GB Solid State Drive ($99.99)


  • Total Savings: $87.50 


  • Total Price: $342.47

  • On Friday, we will be talking about something a little different that has never been done with one of these NES builds before, we'll have to see how it goes.

    Until then, Disc07 Out!


    Monday, May 21, 2012

    Disc07's NES PC Build: Part 1.3b (The Case)

    If you haven't noticed, I have went back and renamed the previous posts to include that this build is indeed my take on the various NES PC builds around the net. I grew up with this machine as a mainstay of my catalog of games and would play it every waking hour of my young childhood. Around 2007, people around the interwebs began toying with the idea of cramming the entirety of a PC in to their old Nintendo consoles and ended up being very successful. These builds were mostly used as HTPCs to stream videos, music, and pictures through their home entertainment centers and on to their televisions. But as I see it, it is 2012: Five years after the NES HTPC crew began modding their classic consoles; processors have gotten quicker and components have gotten smaller, shouldn't we be able to make these NES consoles do more than just stream?

    Darn tootin!

    What I began with this go-around
    Ever since builds began back in 2007, I have wanted to build a PC out of an NES console. But until now, I haven't had the funds to support my ideas. I began with an NES that I had grabbed years ago at a Goodwill for only a few dollars and continued to gut the entire thing. Once gutted, my eyes were quickly drawn to the abundance of room that was once taken up by the 8-bit innards. The outer dimension at their widest at 10in x 8in x 3.5in, so even with the large amount of room I had to work with, many components would soon be choking the insides of the Nintendo as they once did with the aforementioned parts from 1986.

    As you can see, I have already started some body work on the case
    After I gutted the case, I cut out where the power, coax, and a/v output was with my handy Dremel tool. I decided to do this since they protruded some in to the inside of the case and I figured, the more room in there the better. This saved about a half of on inch where this components used to lie. Not much room, but enough for the extra elbow grease it took.


    Over the last few summers, I became very proficient at using Bondo to patch dents and holes in my pickup truck, and I figured that the same concept could be applied here as well. So I ran out to my garage, grabbed what was left of my Bondo and hardener and went after the task of patching up the large holes left from my Dremel blade. Overall, the results ended up looking awesome! 


    Don't you just love the smell of Bondo in the morn?
    The dull look of the finish is result of a couple of hours of sanding down the bottom portion of the Nintendo with 400 grit wet sandpaper to prep for a future touch up paint job. Surprisingly, I found an exact match for the paint at my local Ace Hardware store, so once I get all of the holes cut for the fans and components, it should be ready for a shot of primer and a couple of coats of store brand "Machinery Grey" paint. When it comes to piecing this build together, I will have to go into more depth on the process of getting it prepped for the components, but for now, this shall do. So far, here is how the build looks:


  • Intel i5 3550 ($189.99)
  • Corsair Vengeance LP 8GB (2x4GB) Memory Module ($42.49)
  • The NES Case, Hardware, and Paint (<$10)


  • Total Savings: $27.50 

  • Total Price: $242.48

  • Wednesday's installment of the build will be a brief overview of the drive storage I will be using within the NES PC, the 120GB SATAIII Patriot Pyro SSD.


    Until then, Disc07 Out.